Background
This was a group project where the goal was to create a kit that could be bought by teachers or students, that would help students increase their understanding of science, technology, engineering, or math (STEM) concepts. My group chose to create a kit where the students build a hoist that can be powered either by hydraulics or pneumatics, as students would be able to learn about the science and math behind fluid dynamics, they would learn design principles through reflections and small design decisions, and they could learn to interpret technical drawings.
Design and Lab
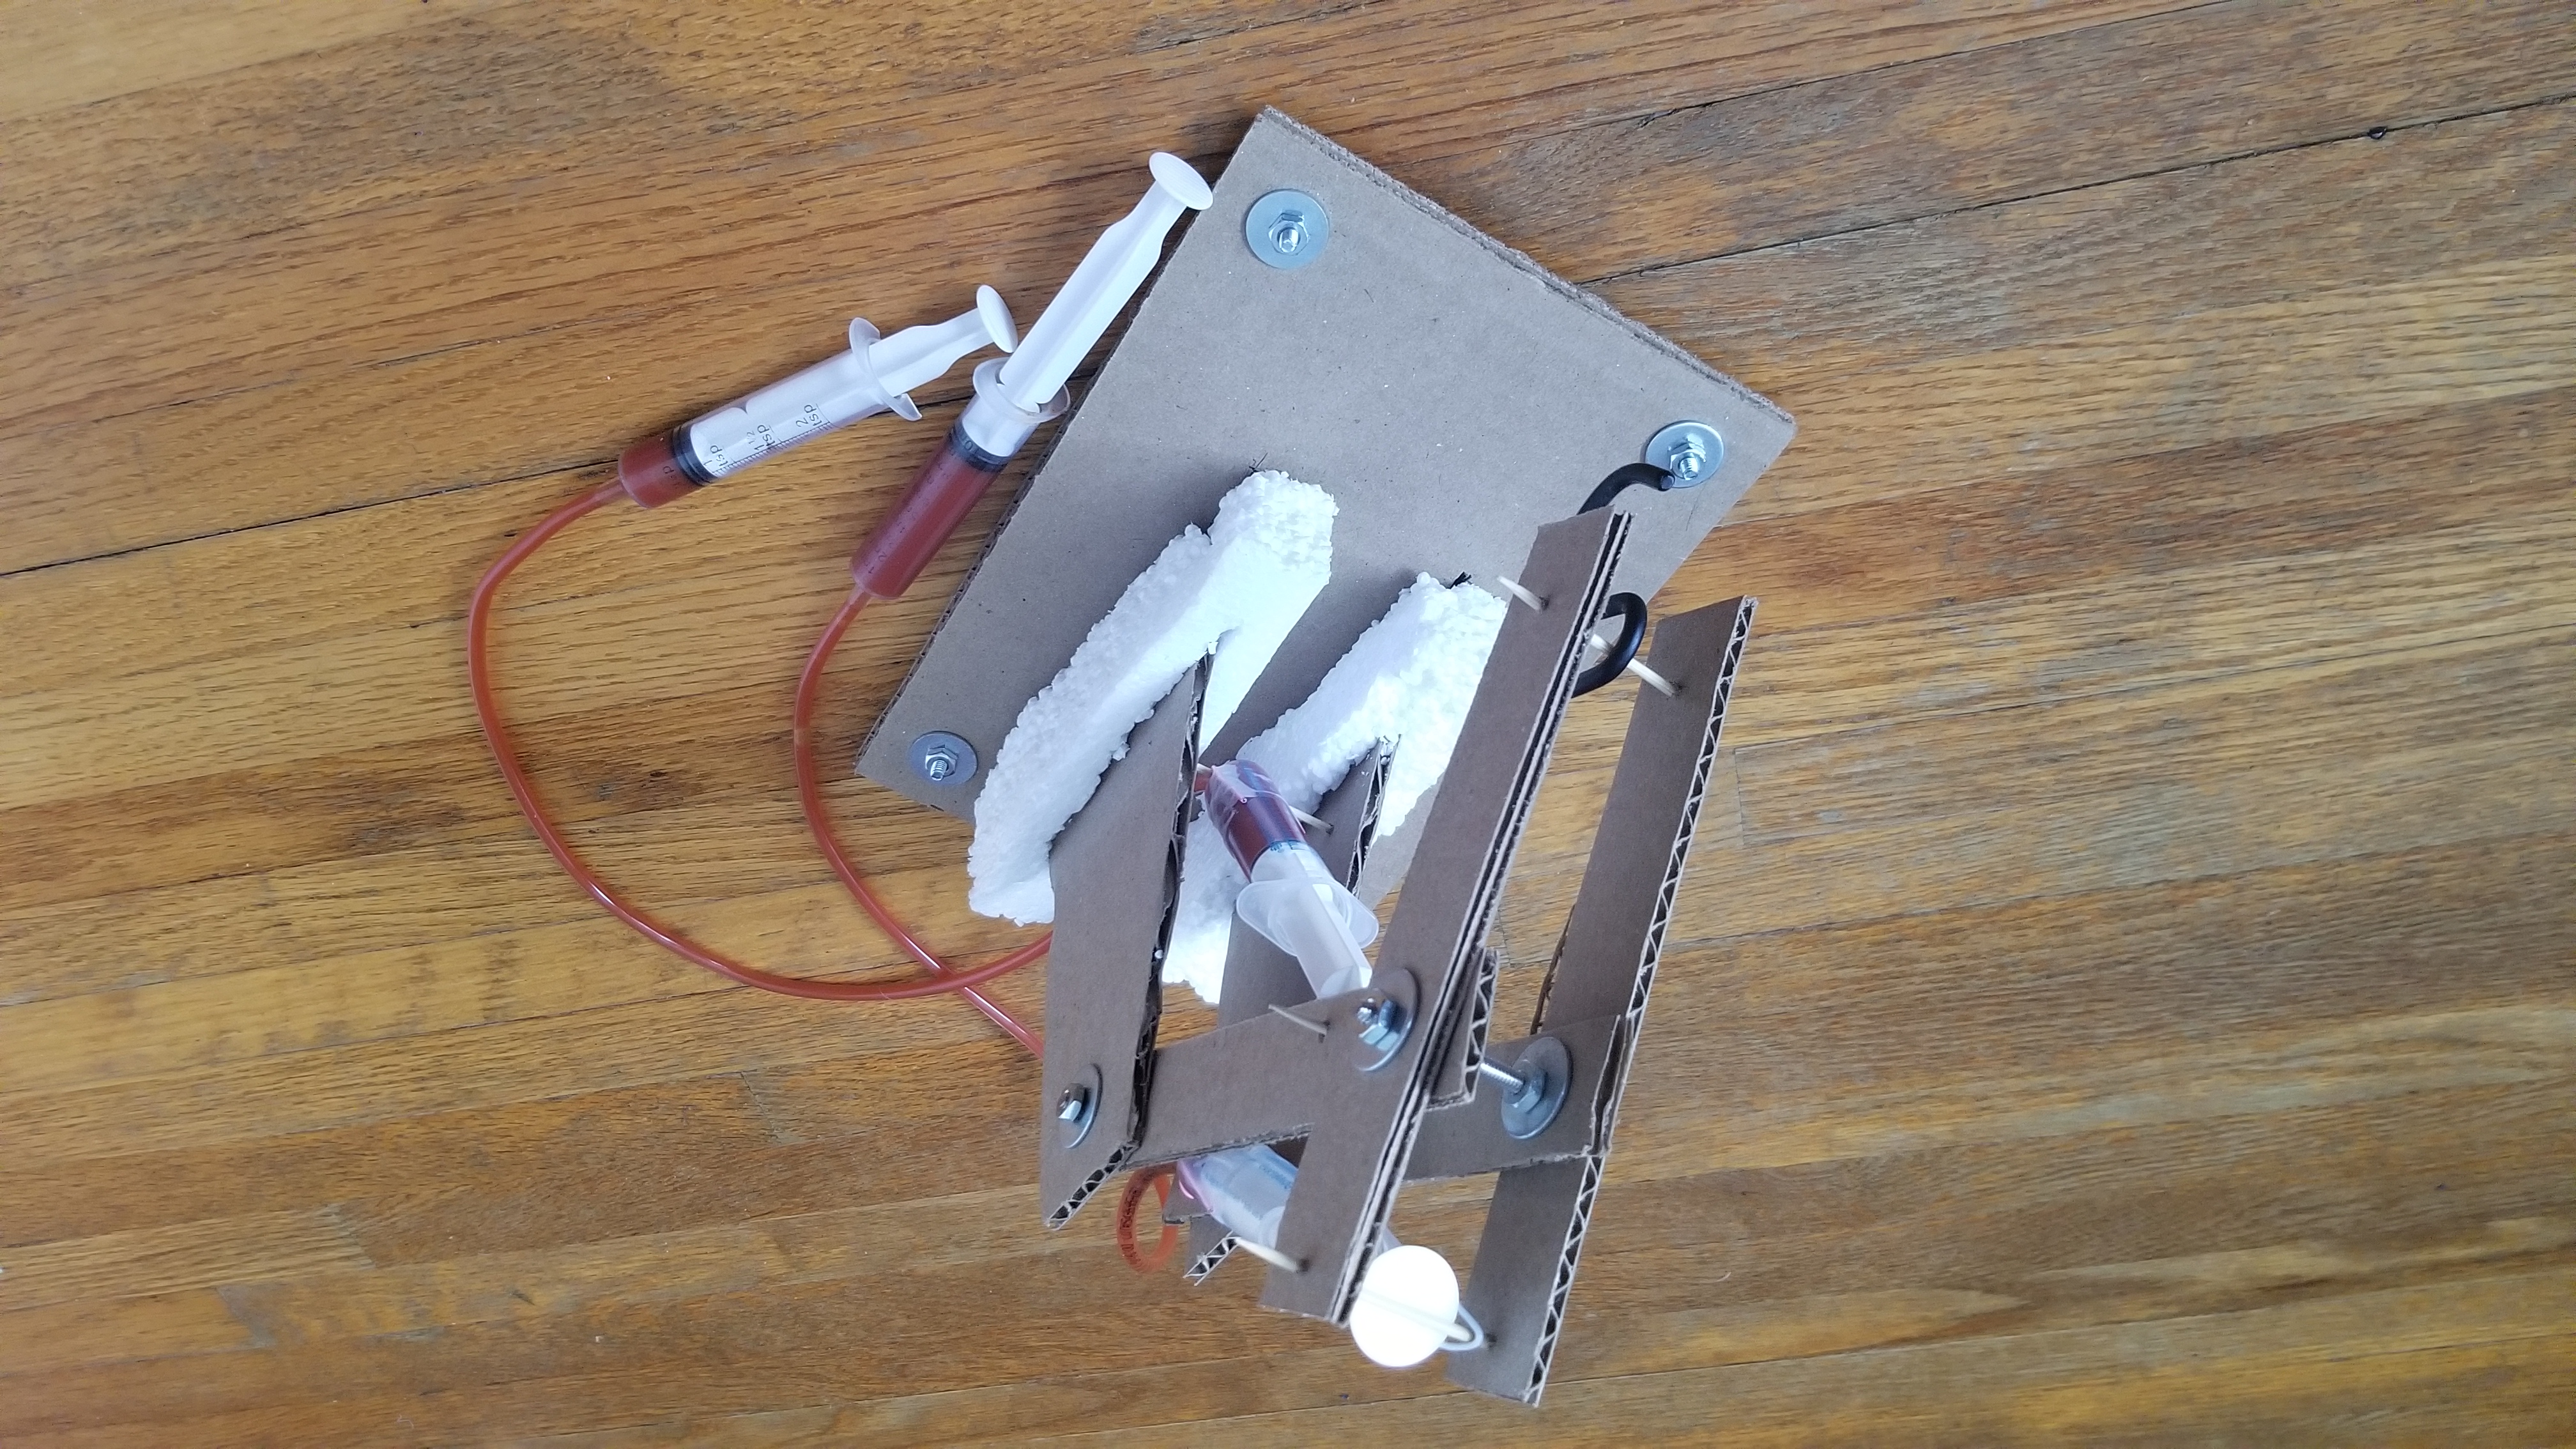
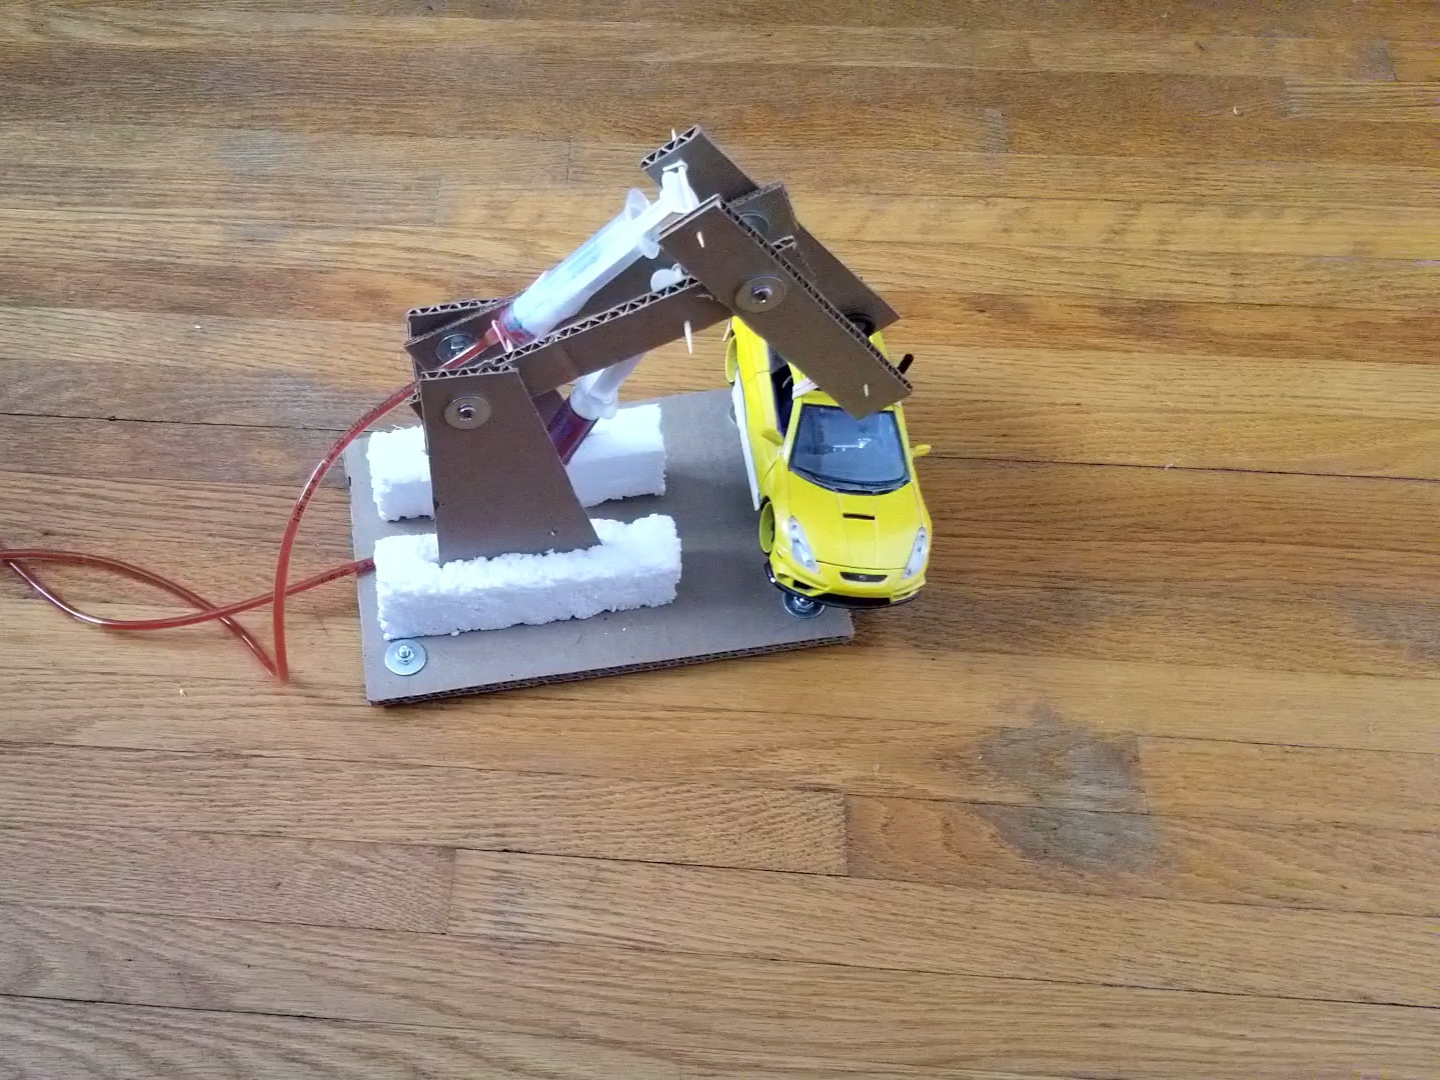
The hoist uses a cardboard structure, syringes as pistons, toothpicks as pins, and six 8-32 UNC bolts so that the cost of the kit is low for students. The students are guided through this process through a lab that we designed, where they assemble all of the mentioned materials to create the hoist. The students are given a detail drawing that they have to use for dimensions, and if they are having trouble visualising what it should look like, a picture of the 3D model is provided as a hint to be used if necessary. I created the detail drawing in AutoCAD, and the 3D model in SolidWorks. Once the model is built, the students complete the included lab where they create improvements to the design, perform mathematical analysis, and compare different fluid types. All of this is detailed in the report below, and the lab that goes along with the kit is in the appendix. The conclusion is that the kit shows a lot of promise, and the prototyping stage is complete, so the next steps were it to be continued would be to source materials and manufacturing for the kit, and begin trials with select schools before releasing to the public.Outcomes
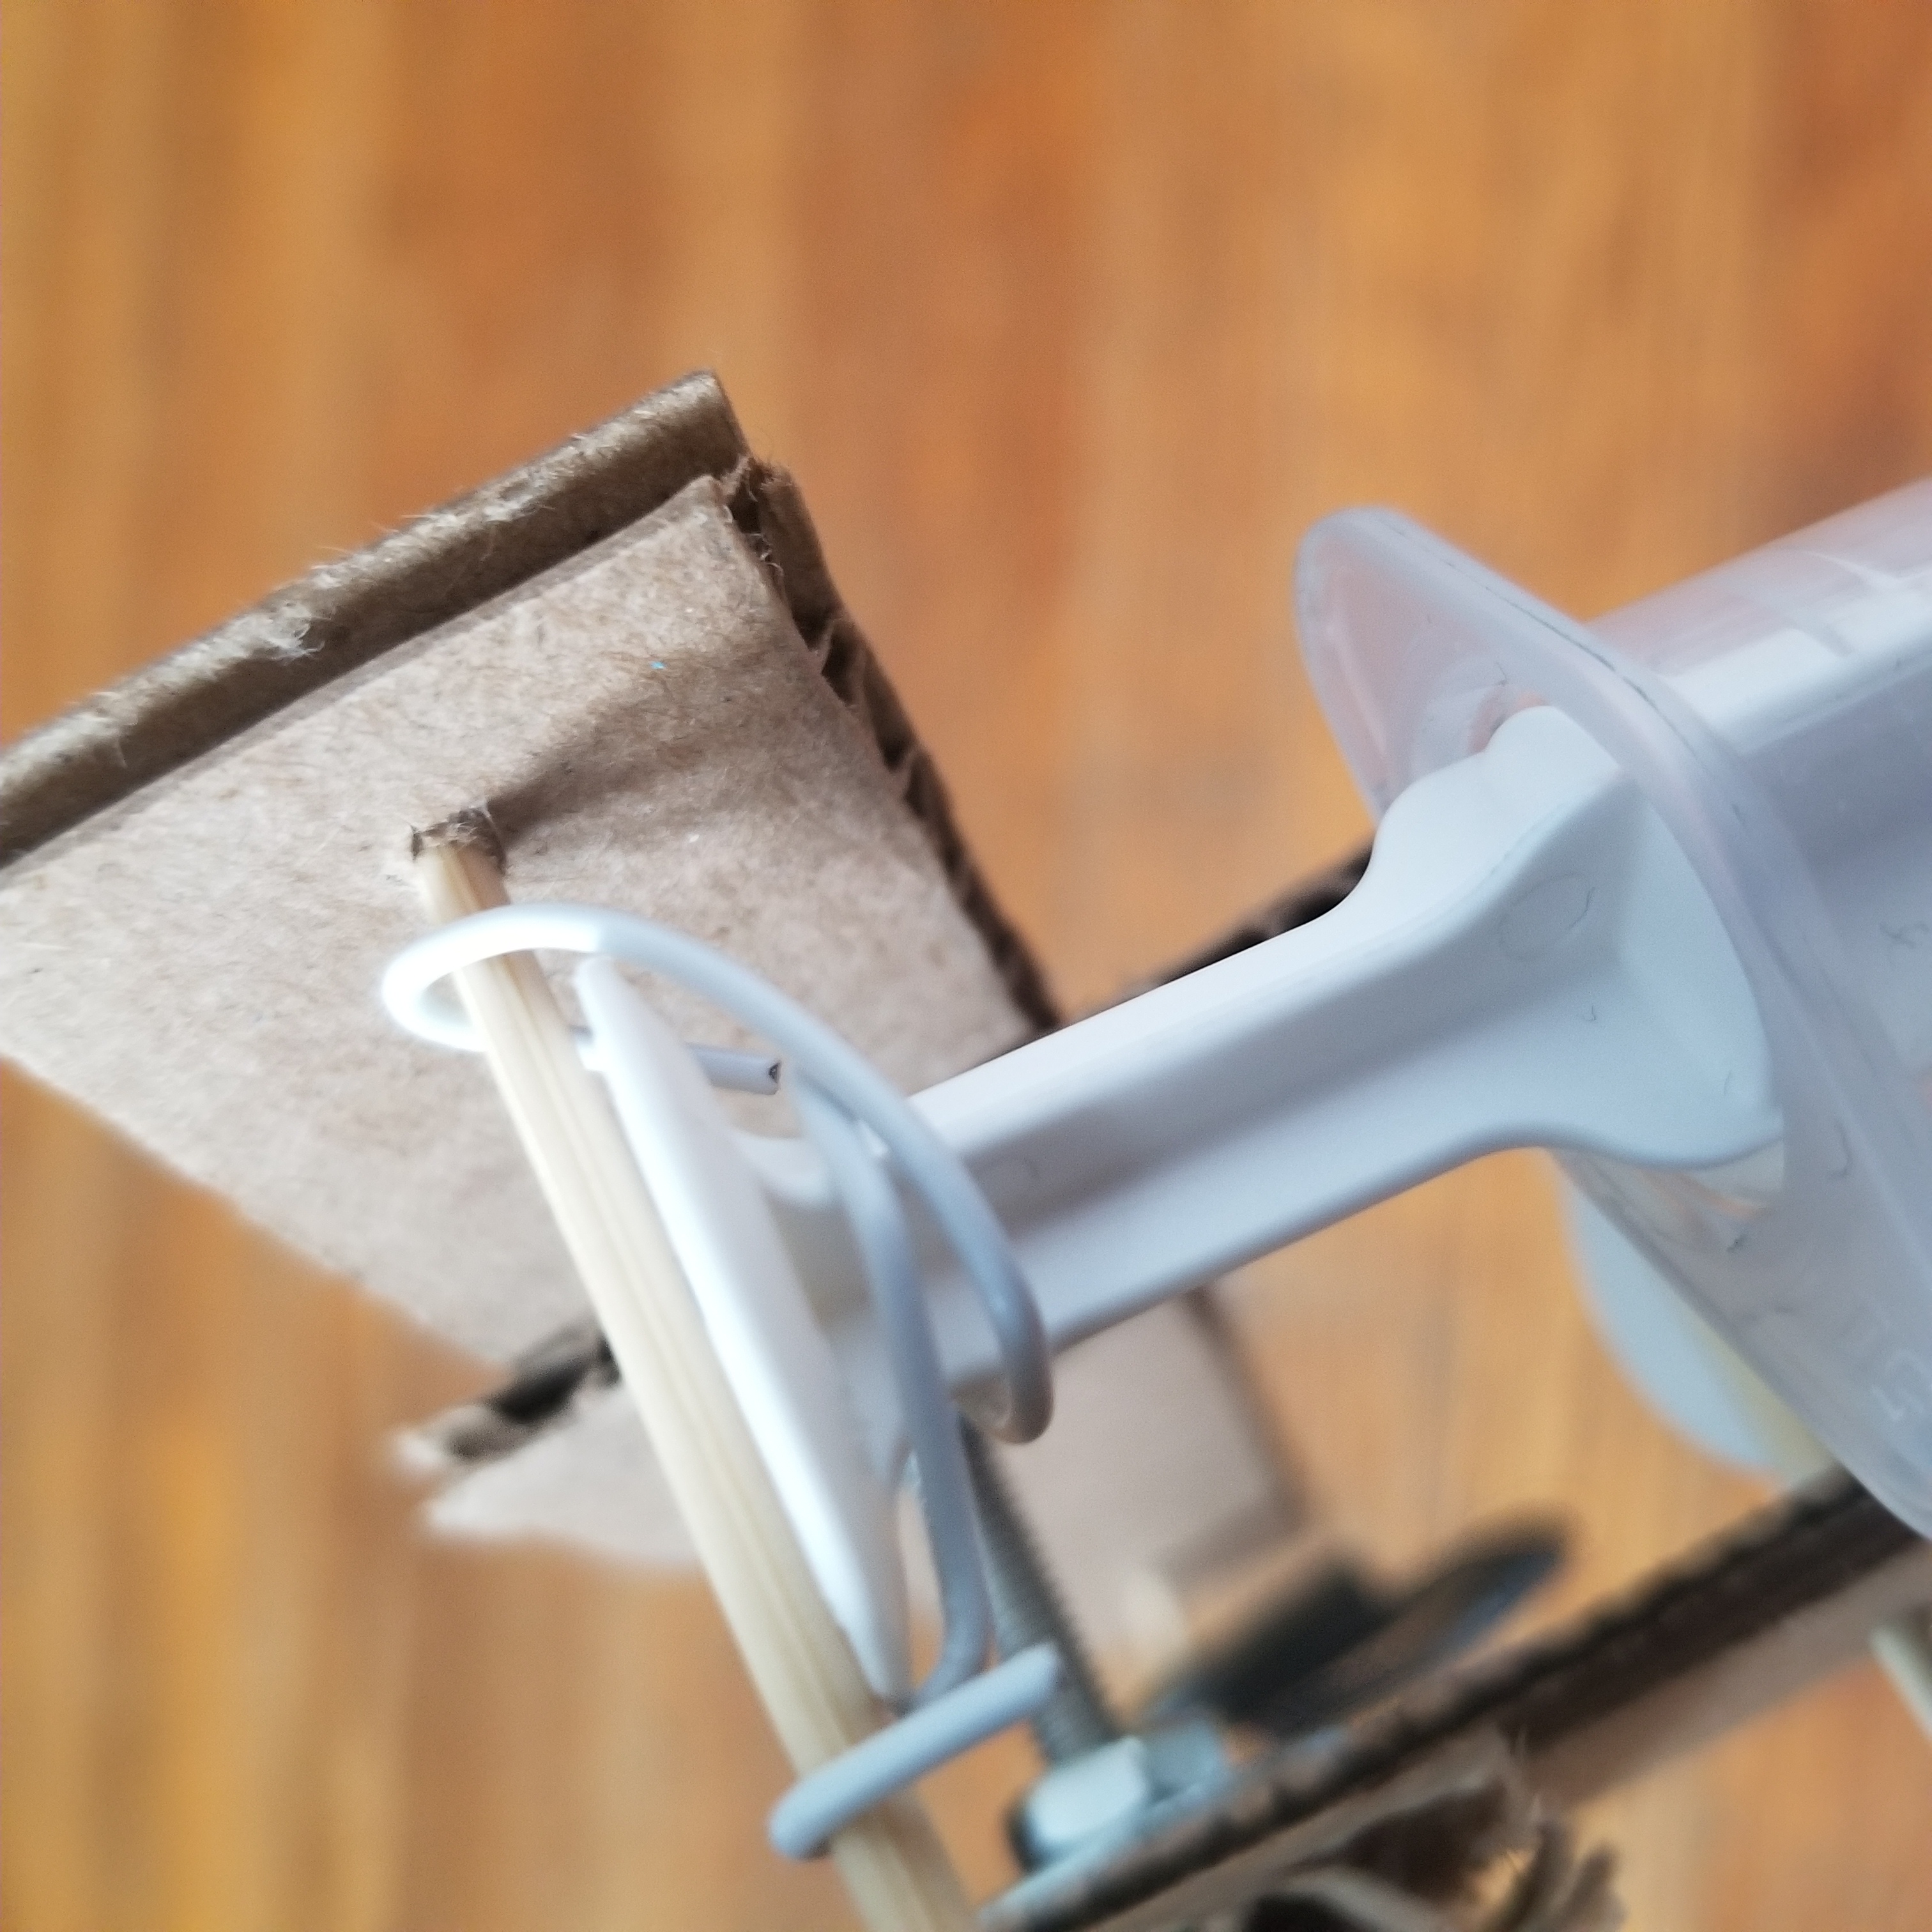
In doing this project, I learned a lot about designing for the end user. For example, the lab requires students to test several different fluids, which would mean swapping out the syringes in the design. However, in the original prototype, this could not be done easily without deconstructing most of the hoist. My solution was to use paper clips to attach the syringe to the toothpicks, so that the syringes could be easily installed and removed by sliding out the toothpicks. I also learned a lot about working on a team - there were a lot of design decisions to be made when we started this project, and there were some conflicting ideas, but through thoughtful discussion we always managed to come to a compromise.
Pictures